Writing custom components for Oxygen is easy. They are helpful when you want to create custom functionality on your Oxygen WordPress site and make it easy to customize for you or your clients.
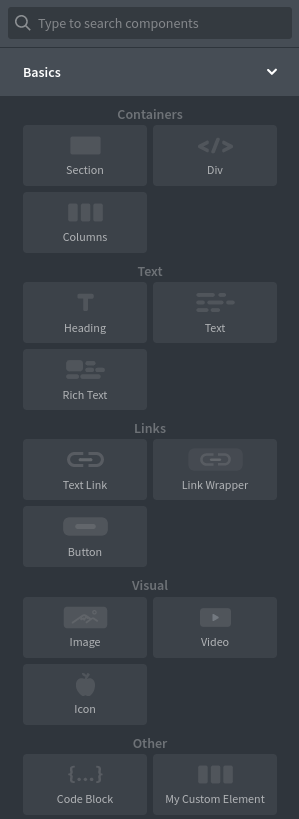
Oxygen provides a predefined set of building blocks that you can use to build your page in WordPress. Some of these predefined components are Section, Div, Columns, and others. These components come by default with each Oxygen Builder install.
Besides these, there are components that are added by 3rd party plugins that extend Oxygen to add things slide sliders, lightboxes, and more complex items.
But, you can also create custom components like these that you can use on your Oxygen sites, to extend the functionality offered by Oxygen. These elements are a great way to share functionality across multiple sites.
Let’s look at an Oxygen component that outputs an H1 tag. This code shows us how to register a custom component with Oxygen, set an icon for it, and render the output.
To register an Oxygen component, we need to define a class that extends Oxygen’s internal OxyEl class. We do this in the WordPress ‘plugins_loaded’ action to ensure the Oxygen plugin is loaded and OxyEl is available.
We can give any name to our custom class. Because we register a custom heading component in this example, I called it CustomHeading.
The boilerplate code to render a custom component is this:
<?php

add_action('plugins_loaded', function() {

    class HeadingElement extends OxyEl {

        function init()
        {

        }

        function name() {
            return 'Custom Heading';
        }

        function slug() {
            return "custom-heading";
        }

        function icon() {
    		return CT_FW_URI . '/toolbar/UI/oxygen-icons/add-icons/heading.svg';
        }

        function controls()
        {

        }

        function render($options, $defaults, $content) {
            ?>
                <h1> Hello from an Oxygen Custom Element</h1>
            <?php
        }
    }

    new HeadingElement();
});
The minimal methods we need to have in this class are: init, name, slug, icon, and render.
Let’s look at what these methods do:
init() – This code will run when the component is initialized, this is the place where you can set up the prerequisite of your component, for example here you can register actions or filters and define custom AJAX actions that your component will use.
name() – This will define the title of our custom component. This name will appear when you want to add the component and is searchable using the search field when you use the search in the “Add” section.
slug() – This is the unique identifier of our custom component. We should use lowercase letters here and dashes (-). The slug has to be unique across all our Oxygen components.
icon() – This will return the icon Oxygen will render in the add component section. We can use all the icons defined by Oxygen or our custom icons. To see all the icons available in Oxygen, you can look in “oxygen/component-framework/toolbar/UI/oxygen-icons”. In our case we use CT_FW_URI . ‘/toolbar/UI/oxygen-icons/add-icons/heading.svg’ to show Oxygen’s heading icon.
controls() – In this method, you can set custom controls for your component, this will be user-customizable content in the left pane.
render() – This method will generate the HTML output of our custom component.
This is all the boilerplate code you need to register a custom component in Oxygen.
Although functional, this component won’t do much. It will just output an H1 element containing some static text. You can use this code as a starting point for your custom elements.
Now let’s look at a more practical example. The code below will allow us to show an encoded email address. The email will be encoded using HTML entities, making it more challenging for spam bots to parse it. This component also has a custom control that will allow the user to enter a value for the “email” field, and we’ll be able to use that later in the render method.
<?php

add_action('plugins_loaded', function() {

    class EncodeEmail extends OxyEl {

        function init() {
        }

        function afterInit() {
            $this->removeApplyParamsButton();
        }

        function name() {
            return 'Obfuscated Email';
        }

        function slug() {
            return "obfuscated-email";
        }

        function icon() {
    		return CT_FW_URI . '/toolbar/UI/oxygen-icons/add-icons/loginform.svg';
        }

        function controls() {

        $email_control = $this->addOptionControl(
	    array(
                    "type" => 'textfield',
		    "name" => 'Enter Email',
		    "slug" => 'email'
            )
        );

                $email_control->rebuildElementOnChange();
        }

        function render($options, $defaults, $content) {

            ?>
                <?php echo $this->encode_email_address($options['email']); ?>
            <?php
        }

        /**
         * Encode an email address to display on your website
         */
        function encode_email_address( $email ) {

             $output = '';

             for ($i = 0; $i < strlen($email); $i++)
             {
                  $output .= '&#'.ord($email[$i]).';';
             }

             $output = $output;

             return $output;
        }
    }

    new EncodeEmail();
});
Option Controls
The option controls allow us to specify what information users can customize in our elements. For example, we will need the user to enter an email address that our custom component will render in an encoded format.
To add option controls, we use the controls() method. In our case, we will add a field called email with a title and a slug of type textfield, for our email field.
We have multiple options for the type of controls we can add: textfield, dropdown, checkbox, buttons-list, measurebox, slider-measurebox, colorpicker, icon_finder, mediaurl. With some coding, we can even define our custom ones.
Finally, we call $my_control->rebuildElementOnChange(); to make sure the component is updated every time the user makes a change to it (as opposed to having an Apply Changes button).
This is how our custom control looks:

To access the value the user entered for an email, we can use the $options parameter in the render function. We can access any option control using the previously defined slug in the controls() method. In out example, we use $options[’email’], ’email’ being the slug we added to the addOptionControl method:
<?php echo $this->encode_email_address($options['email']); ?>Writing custom Oxygen components is not hard, and you can even do it using a Code Snippet in WordPress. Then, using WPCodeBox, you can save these components to the cloud and use them on your Oxygen Builds.
And the code used in these examples will be available on the WPCodeBox Code Snippet Repository, a library of ready-to-use WordPress Code Snippets you can add to your site.